Introduction
There’s something truly special about homemade bread. The way it fills the house with an irresistible aroma, the comforting texture, and the warm, satisfying taste—it’s pure nostalgia in every bite. This recipe for Grandma’s Perfect Homemade Bread is a family favorite that has been passed down through generations, bringing the joys of baking into your kitchen. It’s the kind of bread that’s perfect for every occasion, from a simple meal to a special gathering, and it’s easier to make than you might think. With just a few pantry staples and a little patience, you can create a loaf that rivals any bakery’s finest.
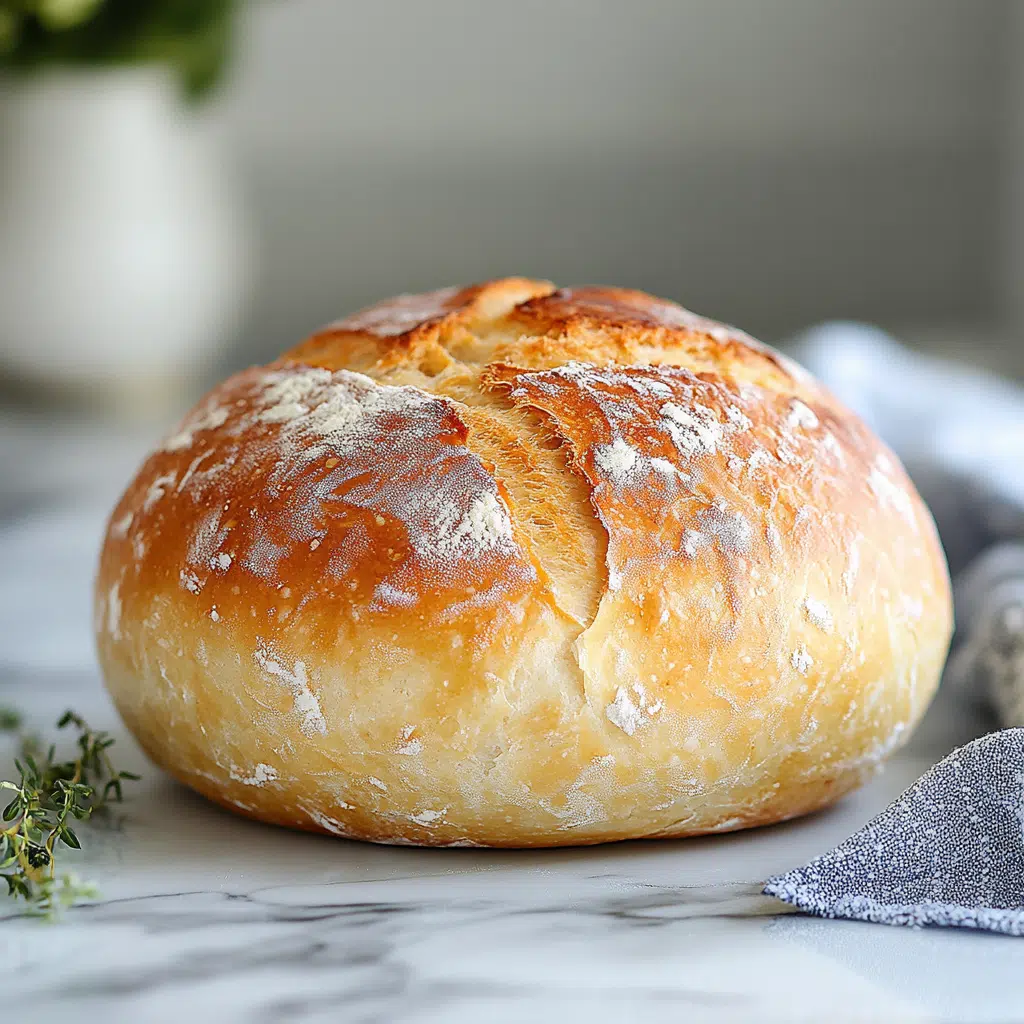
This bread has the ideal balance of a golden crust and a soft, fluffy interior that you’ll love slathering with butter or using to make sandwiches. What makes this recipe stand out is the love and tradition behind it, along with the fact that it’s made using simple ingredients that you probably already have in your kitchen. Whether you’re an experienced baker or trying your hand at bread-making for the first time, this recipe is easy to follow and yields consistently delicious results. Plus, the smell of freshly baked bread will make your home feel even more inviting.
Why You’ll Love This Recipe
- Simple Ingredients: With just a few basic ingredients, this bread is easy to make without any complicated steps.
- Soft and Fluffy: The result is a perfect balance of soft, fluffy texture and a beautifully golden, crisp crust.
- Versatile: Great for sandwiches, served with soup, or enjoyed with butter and jam, it’s perfect for any meal.
- Family Tradition: This recipe has been passed down through generations, making it a meaningful part of your baking routine.
- No Special Equipment Needed: All you need is a bowl, spoon, and a bit of time—no fancy gadgets required.

Ingredients
- 2 ½ cups warm water
- ¼ cup sugar
- 1 ¼ teaspoons salt
- 1 tablespoon dry active yeast
- 5 cups all-purpose flour
- 2 tablespoons olive oil (or any oil of your choice)
Variations
- Herb-infused Bread: Add 1-2 tablespoons of dried herbs (like rosemary or thyme) to the dough for a fragrant twist.
- Garlic Bread: Stir in minced garlic or garlic powder into the dough or brush the top of the loaf with melted butter and garlic before baking.
- Whole Wheat Version: Replace half of the all-purpose flour with whole wheat flour for a heartier loaf.
- Cheese Bread: Add shredded cheese, such as cheddar or mozzarella, into the dough for a cheesy surprise.
- Cinnamon-Sugar Swirl: Add cinnamon and sugar to the dough before rolling it up to create a sweet, cinnamon-swirled bread.
How to Make the Recipe
Step 1: Activate the Yeast
In a large bowl, combine the warm water and sugar. Sprinkle the dry active yeast over the water and stir gently. Let it sit for about 5-10 minutes, or until the mixture becomes frothy. This step activates the yeast and ensures that your bread rises properly.
Step 2: Mix the Dough
Once the yeast is activated, add the salt, olive oil, and flour to the yeast mixture. Stir with a spoon or your hands until the dough begins to come together.
Step 3: Knead the Dough
Transfer the dough to a floured surface and knead for about 8-10 minutes, or until the dough becomes smooth and elastic. If the dough feels too sticky, add a little extra flour, but be careful not to add too much, as this could make the bread dense.
Step 4: Let the Dough Rise
Place the kneaded dough in a lightly oiled bowl and cover it with a clean towel. Let it rise in a warm place for 1-1.5 hours, or until it has doubled in size. This is when the yeast works its magic, making the dough rise and giving it that airy texture.
Step 5: Shape the Dough
Once the dough has risen, punch it down to release any air bubbles. Shape the dough into a loaf by folding the edges toward the center and rolling it up into a tight cylinder.
Step 6: Second Rise
Place the shaped dough into a greased loaf pan. Cover the pan with a towel and let the dough rise for an additional 30 minutes to 1 hour, or until it has risen just above the top of the pan.
Step 7: Bake the Bread
Preheat your oven to 375°F (190°C). Once the dough has risen, place the loaf pan in the oven and bake for 25-30 minutes, or until the top is golden brown and the bread sounds hollow when tapped on the bottom.
Step 8: Cool and Serve
Remove the bread from the oven and let it cool on a wire rack. Once cooled, slice and enjoy the delicious, homemade goodness!

Tips for Making the Recipe
- Be sure the water is warm, not hot, as too much heat can kill the yeast. Aim for about 110°F (43°C).
- If you don’t have a thermometer, the water should feel comfortably warm to the touch, like a warm bath.
- If you want to make sure your bread is extra soft, try using bread flour instead of all-purpose flour.
- Let the dough rise in a warm, draft-free area, like an oven with just the light on, for the best results.
- If you’re making multiple loaves, you can freeze the dough after the first rise. Simply shape the dough, place it in a greased pan, cover it tightly with plastic wrap, and freeze. Let it thaw and rise before baking.
How to Serve
This homemade bread is delicious on its own, simply sliced and served with butter. It’s also perfect for making sandwiches, served with soups, stews, or even as a side to a hearty salad. Try it with a spread of garlic butter or use it to make a grilled cheese sandwich for a truly comforting meal.
Make Ahead and Storage
Storing Leftovers
Store leftover bread in a bread box, a paper bag, or an airtight container to keep it fresh for 2-3 days. For longer storage, you can wrap it tightly in plastic wrap and freeze it for up to 3 months.
Freezing
You can freeze the entire loaf or individual slices. Wrap them tightly in plastic wrap and then place them in a freezer-safe bag. When ready to eat, simply thaw at room temperature or toast the slices directly from the freezer.
Reheating
To reheat the bread, place it in a preheated oven at 350°F (175°C) for about 10 minutes or until warm. For individual slices, pop them in a toaster or toaster oven.
FAQs
1. Can I use instant yeast instead of active dry yeast?
Yes, you can use instant yeast, and you don’t need to activate it with water. Simply mix it with the flour.
2. How can I tell if the bread is done baking?
The bread should have a golden-brown crust and sound hollow when tapped on the bottom. You can also use a thermometer to check if it has reached an internal temperature of 190°F (88°C).
3. Can I use whole wheat flour?
Yes, you can substitute up to half of the all-purpose flour with whole wheat flour for a heartier loaf.
4. Why is my bread dense?
If your bread is dense, it could be due to under-kneading, not allowing it to rise enough, or using too much flour during kneading.
5. Can I add herbs or spices to the bread?
Yes! You can mix in herbs like rosemary, thyme, or garlic for additional flavor.
6. What should I do if the dough doesn’t rise?
Ensure that the yeast is fresh and the water temperature is correct. If the dough is still not rising, try moving it to a warmer place.
7. Can I double the recipe?
Yes, you can easily double the recipe to make two loaves.
8. Can I make this recipe without oil?
Yes, you can omit the oil, but it helps to make the bread soft and tender. Alternatively, you could use melted butter.
9. Can I freeze the dough?
Yes, you can freeze the dough after the first rise. Thaw it and allow it to rise again before baking.
10. How long will this bread stay fresh?
Freshly baked bread stays best for 2-3 days at room temperature, or you can freeze it for longer storage.

Conclusion
Grandma’s Perfect Homemade Bread is a timeless recipe that brings both comfort and deliciousness to your table. With simple ingredients and a little love, this bread creates a soft, fluffy loaf that will remind you of the very best home-baked treats. Whether you’re baking for your family or just enjoying the process yourself, this recipe is sure to become a go-to favorite. Enjoy the warmth, the flavor, and the memories with every slice!
Print
Grandma’s Perfect Homemade Bread Recipe
- Total Time: 1 hour 50 minutes (including rising time)
- Yield: 2 loaves 1x
- Diet: Vegetarian
Description
This homemade bread recipe is a family favorite that has been passed down through generations. Soft, fluffy, and fragrant, it’s perfect for any occasion. Whether you’re making sandwiches or simply enjoying a slice with butter, this bread is a true comfort food that brings a taste of home.
Ingredients
-
2 ½ cups warm water
-
¼ cup sugar
-
1 ¼ teaspoon salt
-
1 Tablespoon dry active yeast
-
5 cups all-purpose flour
-
2 Tablespoons oil (olive oil preferred)
Instructions
-
Prepare the yeast: In a bowl, combine the warm water, sugar, and yeast. Stir gently and let it sit for about 5-10 minutes, or until the yeast becomes bubbly and foamy.
-
Make the dough: In a large mixing bowl, combine the salt and flour. Once the yeast mixture is ready, pour it into the flour mixture along with the oil. Stir until the dough starts to come together.
-
Knead the dough: Turn the dough out onto a lightly floured surface and knead for about 5-7 minutes, or until the dough is smooth and elastic. You may need to add a little more flour if the dough is too sticky.
-
Let the dough rise: Place the dough in a lightly oiled bowl, cover with a clean towel, and let it rise in a warm place for 1-1.5 hours, or until it has doubled in size.
-
Shape and second rise: Punch down the dough, then divide it into two equal portions. Shape each portion into a loaf and place it into a greased loaf pan. Cover and let rise for another 30-45 minutes.
-
Bake the bread: Preheat the oven to 350°F (175°C). Bake the loaves for about 25-30 minutes, or until they are golden brown and sound hollow when tapped on the bottom.
-
Cool and serve: Let the bread cool on a wire rack before slicing. Enjoy!
Notes
You can substitute the all-purpose flour with whole wheat flour for a healthier option.
If you don’t have olive oil, any vegetable oil works well.
For extra flavor, brush the top of the loaf with butter once it comes out of the oven.
- Prep Time: 15 minutes
- Cook Time: 30 minutes
- Category: Bread, Baking
- Method: Baking
- Cuisine: American

